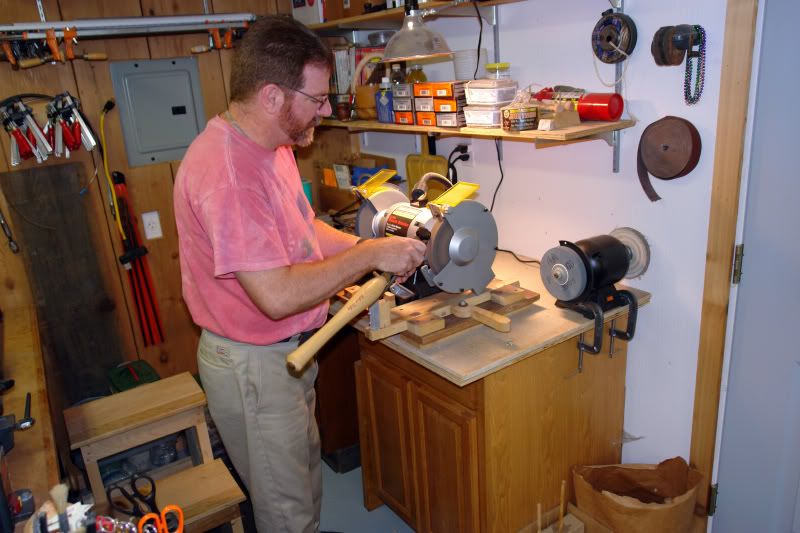
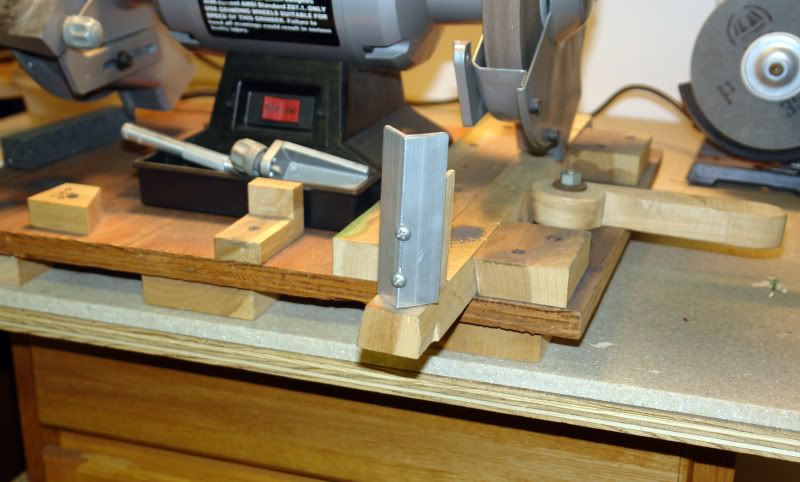
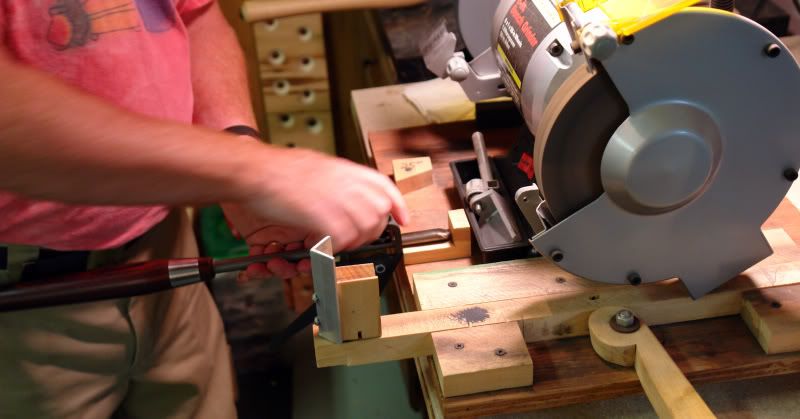
I was out of town on Saturday, meeting up with my friends Tom & Cathie, whom I haven’t seen in about 10 years. On the way home from Buffalo, I stopped at the woodcraft store in Rochester, where I picked up some turning supplies. I got a micromesh sanding kit, as well as a few pen and pencil kits and some HUT brand wax for pen turning.
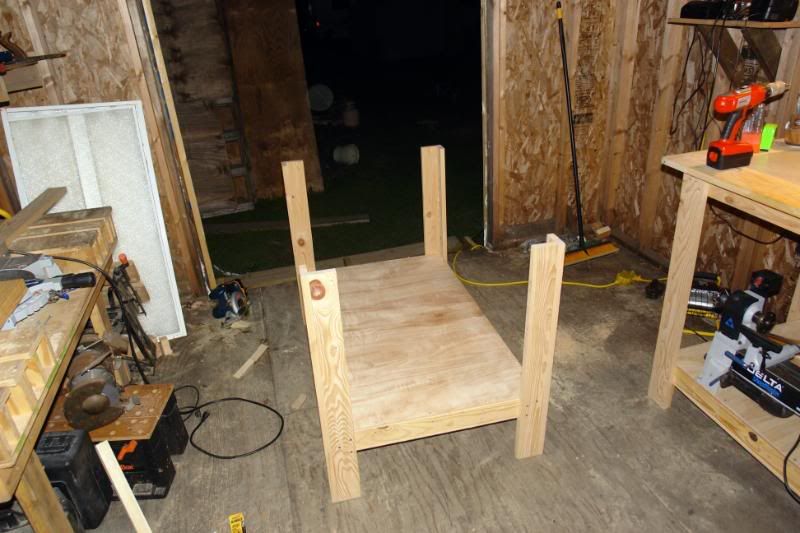
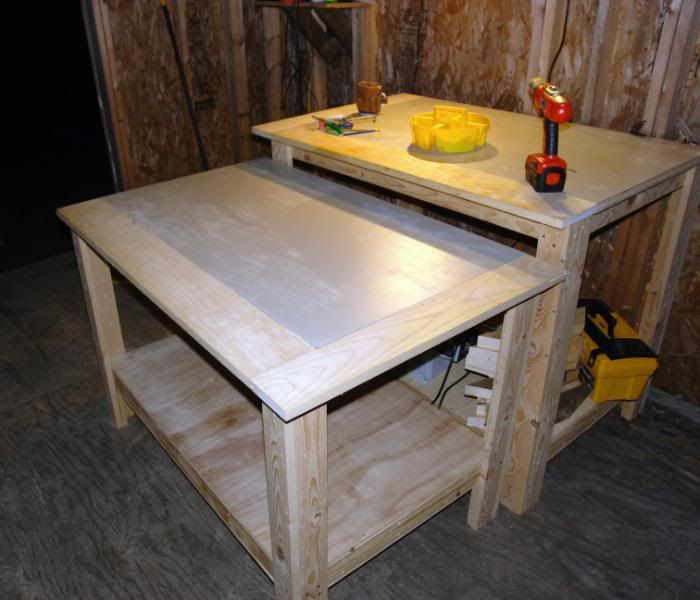
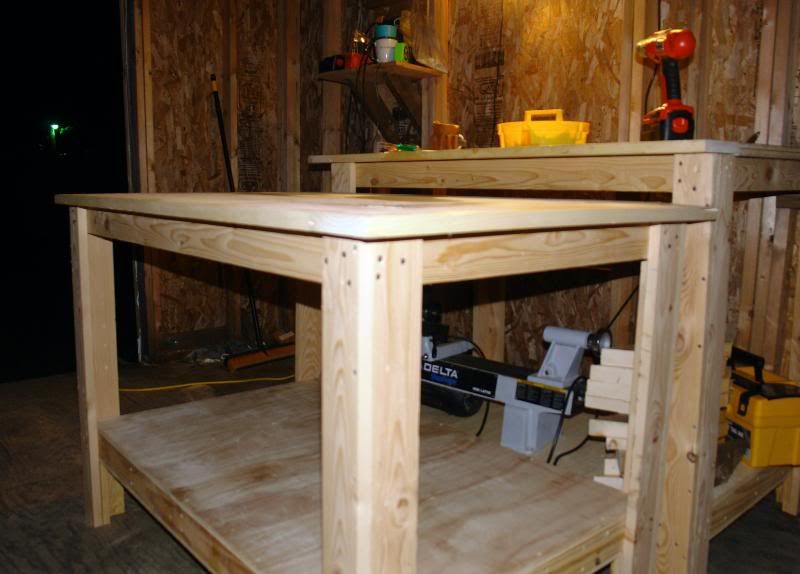
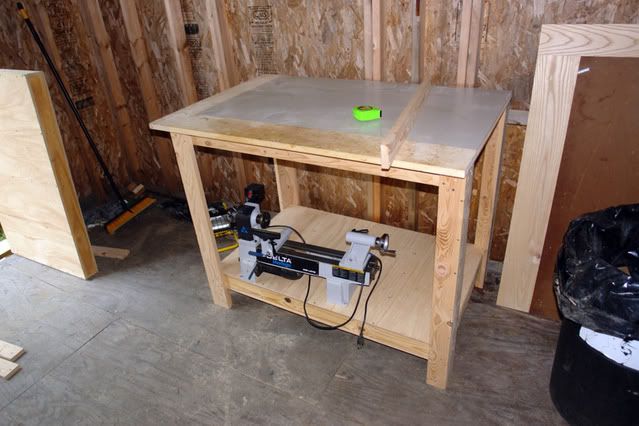
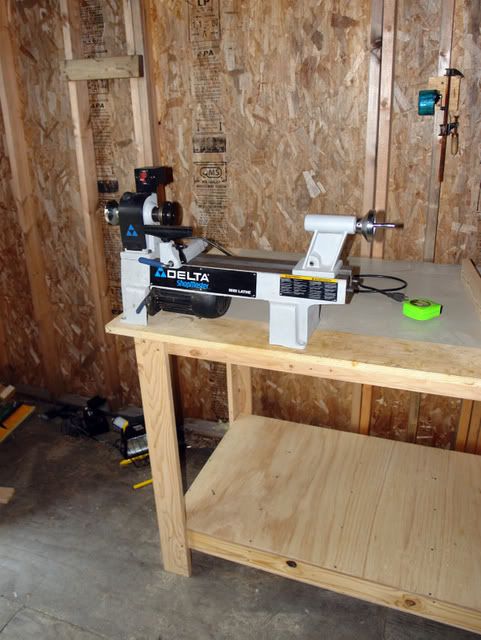
Sunday saw me back out in the shop in the morning, while the family was sleeping. I was busy building this:
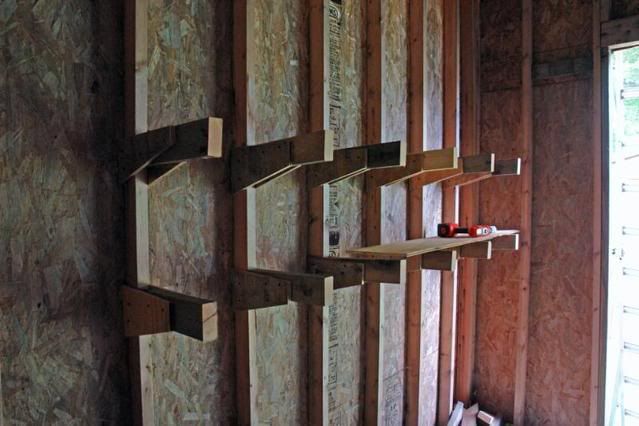
It’s intended as a temporary rack, but it’ll likely wind up as semi permanent fixture of the shop. The location will certainly stay the same at least. I have to start putting some thought into what will go where in the shop. I’ve got a ton of stuff and not a lot of floor space to put it in. What I do have a relative ‘lot’ of is vertical space thanks to the 10’ sidewalls. Those racks are going to be right above the initial location of my CMS. I’ll add two more racks above those. When & if I fill those up with lumber.
Sheet goods will be another issue altogether, at least in the beginning. I’ve got at least 8 sheets of various materials to cope with. In the long run I’ll only be ‘storing’ cut-offs from whatever current project I’m working on.
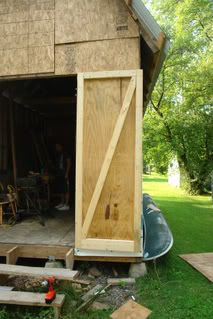
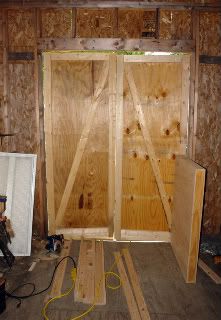
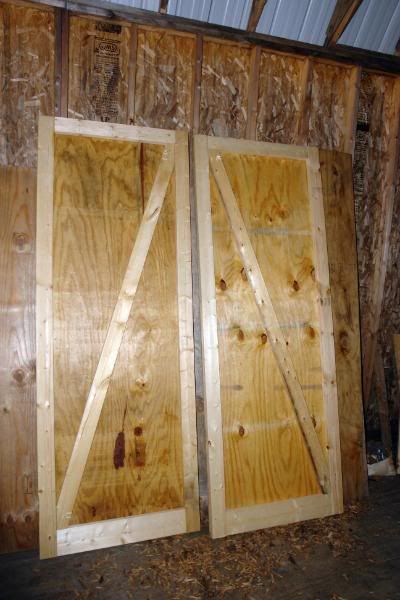
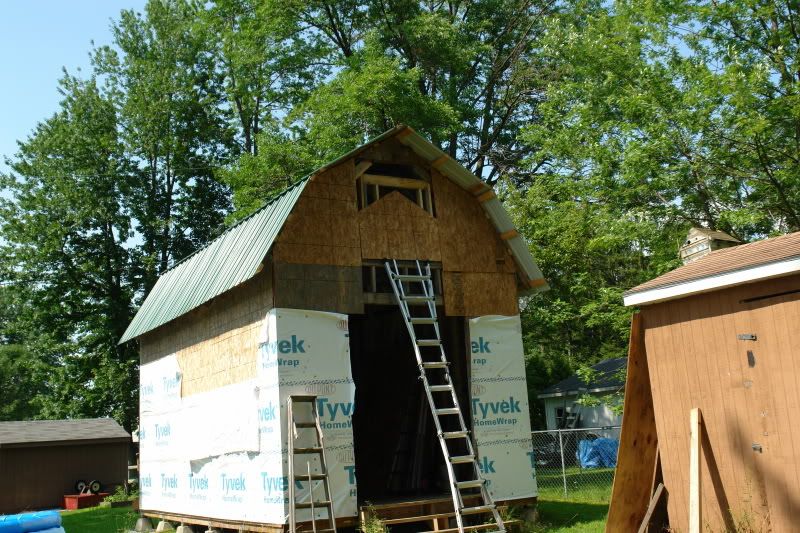
Later on Sunday I started working on hanging the doors.
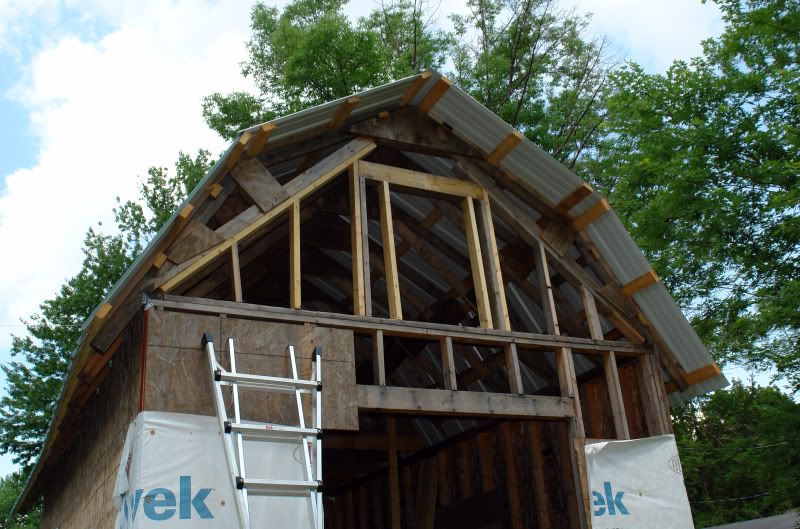
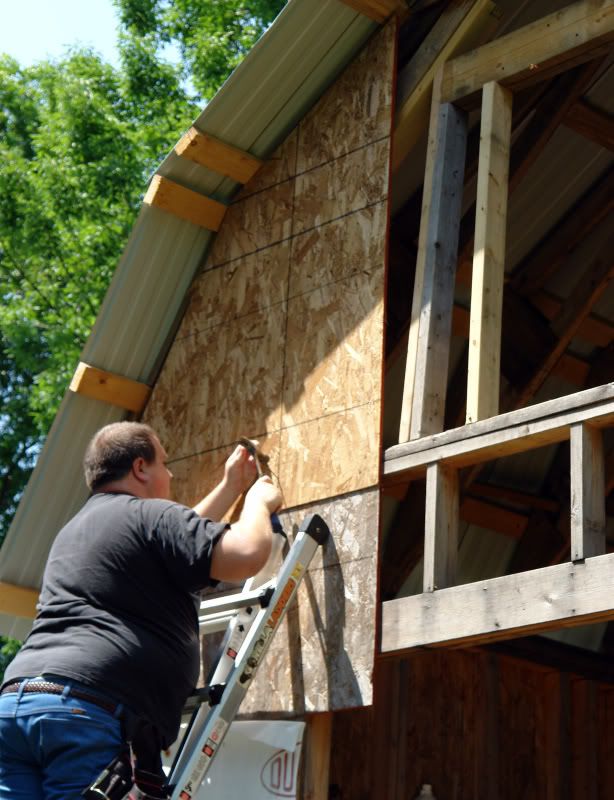
I trimmed back the OSB from the doorway, which was fun. I got to use the saws-all and the router. Bet you didn’t know that a PC 690 was really an overgrown laminate trimmer. Had to use it one handed from the ladder, but it got things cleaned up in short order.
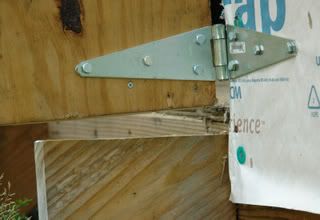
James helped out, steadying the door while I installed the hinges. Everything was going ‘well’ until we opened the door…
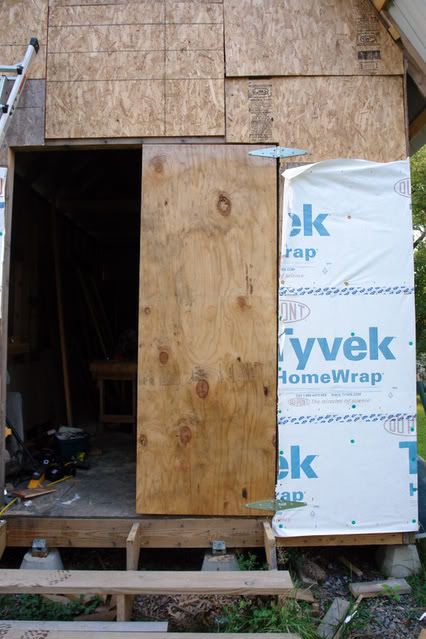
And it hung up on the top step of the stairs, not quite opening halfway.
SO… after a few ‘bad words’ were uttered, we removed the top step to see just how much space we had…

and a close up view or two
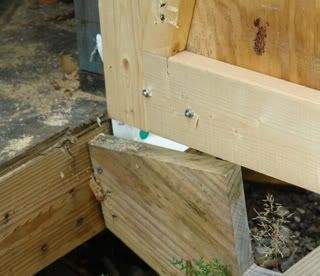
My first impression was to cut the riser back and lower the top step, which would probably catch me every time I tried to walk into the shop. It’s only held on by a dozen or so deck screws, so I think what I’m going to do is hang the other door and then remove the stairs, dig out the bottom step area just a bit, level it off and then screw them back onto the building.
 if you click on the inside view, you can see there is a bit of a gap around the door, but I'll put trim on it later, once all the tools are in and working.
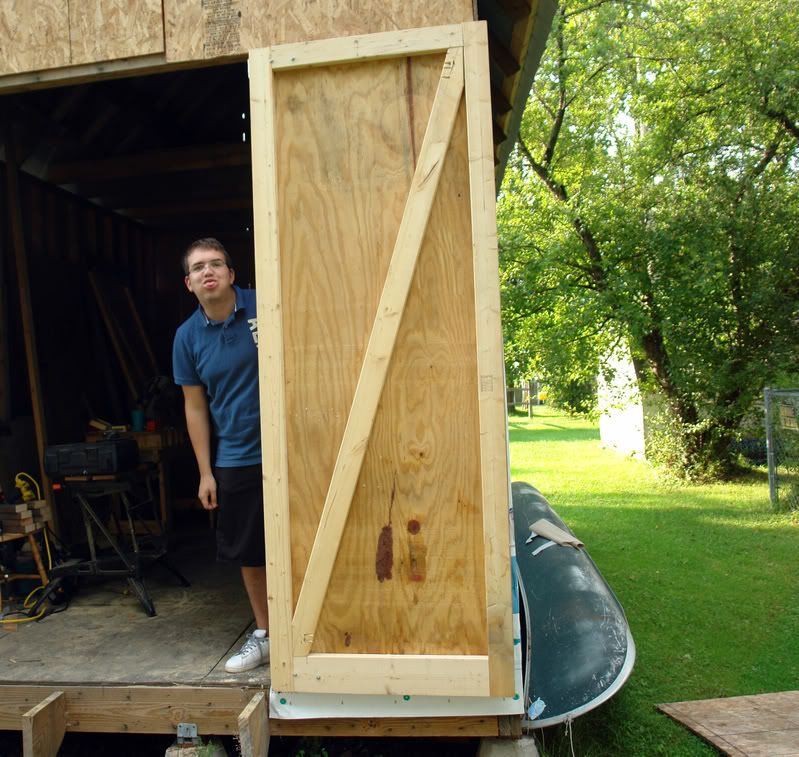
And it can be hard to find ‘good help’ Lucky for me, I did just that…
Thanks James!

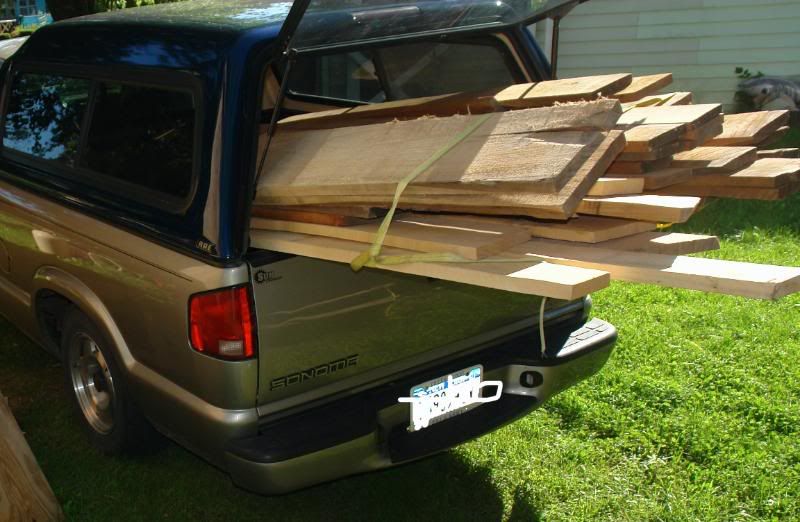
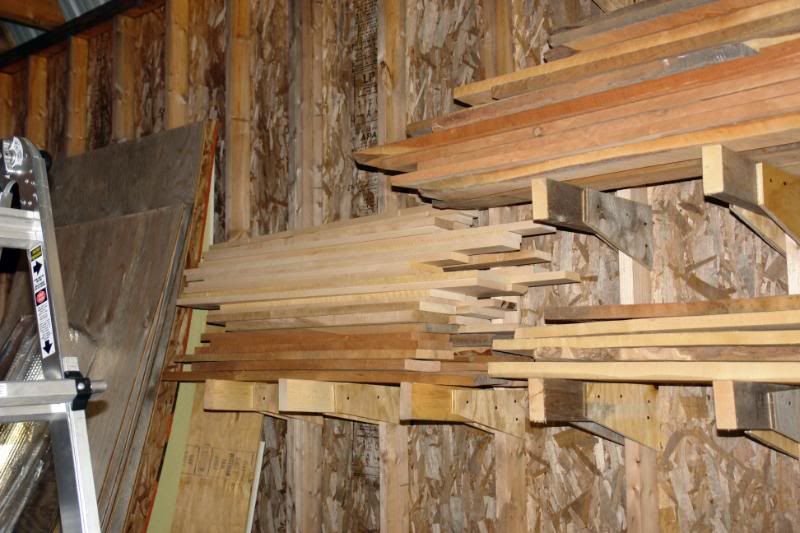
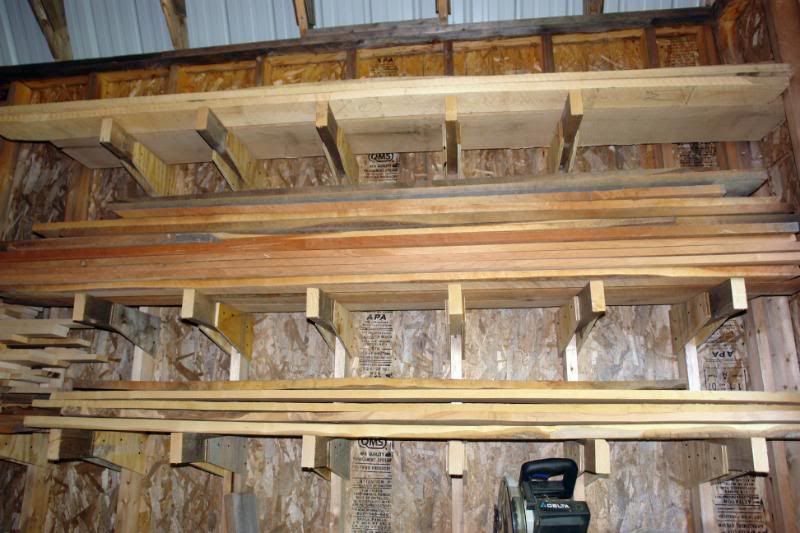 There's that truckload of wood up in the racks. The top level holds mostly butternut, the middle is all cherry and the lower level is maple. Most of it is still rough cut lumber, but there's a few pieces which have been dressed S4S (surfaced 4 sides for the non-woodworking reader)
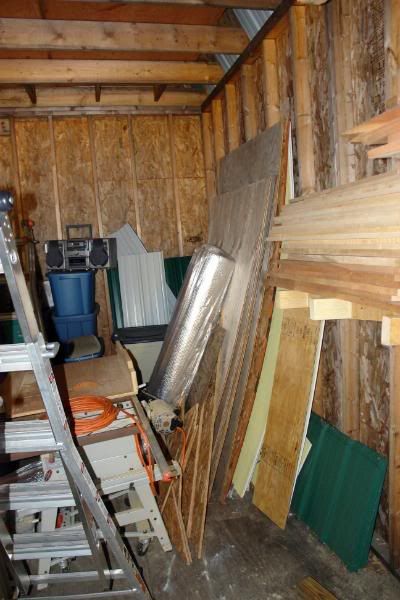

 This may seem like a small step, but for me it marks when I can truly start moving in equipment and stuff into the shop. I made a couple of trips to the storage unit. The first trip was to get the drywall and cement board which I scored this spring. For a mere $20 I got 5 sheets of moisture resistant drywall, plus numerous cutoffs from a friend of Mark's who was clearing out his garage.
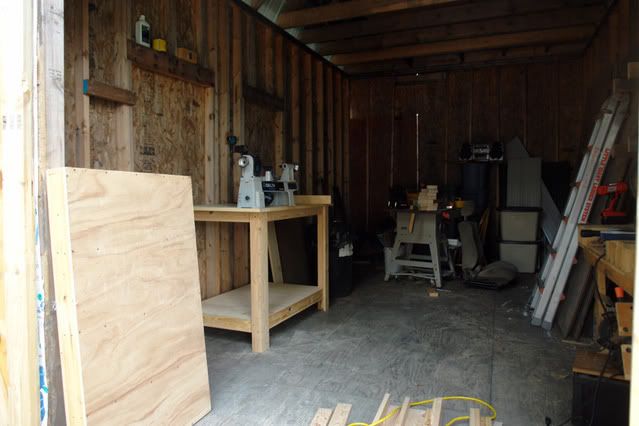


