Showing posts with label roof trusses. Show all posts

Saturday, May 31, 2008

progress...some of it even forward!

The snow has long melted, and the budget was increased again, thanks to uncle Sam giving me back my money, or some of it anyway. Can you say 'flat tax'? But I digress.


After a long dark winter... (well, it wasn't that dark, but it sure was wet!) Things are moving again on the shop project.


I have been trying in vain to contact a local roofer about installing a roof on the shop for me. It turns out he is less than reliable, so I decided to do a gut-check and try to install a Metal roof myself. I originally was going to put on a shingle roof over sheathing, but the plywood installation got to me.


I left the building 'open' over the winter, which means there is some water damage to the CDX flooring, but that's easily remedied with another layer of flooring. I will add that if things get too annoying walking around later this summer. Job 1 is to get the metal roof installed.


ANyway, I went to Lowes in Oneida to check on availability, figuring if they didn't have the color/size I needed I could then schlep over to Cicero or even Rome if I had to. HOwever, Oneida was well stocked and it was two stop shopping (one for pricing, two for pickup after gathering up Mark to help with transport and cutting of the materiel).


They sell metal roofing in 8' ($30)or 12'($45) sections. Hmmm... I've got 22' of run to cover, so I mistakenly calculate that I'll be able to do this with either 28 8' sections trimmed down to 5' with 3' scrap left over, or 14 12' sections (which, as it turns out works, but more on that in a moment), cut up into two 5' sections and 2' scrap left over apiece. the 8' sections would have run me $840 plus tax, the 12' sections ran me $630 plus tax and other assorted accessories. By the time i got out of there it was $930 later. (Screws for securing the sheets, ridge cap, a saw blade to cut the metal, etc...)


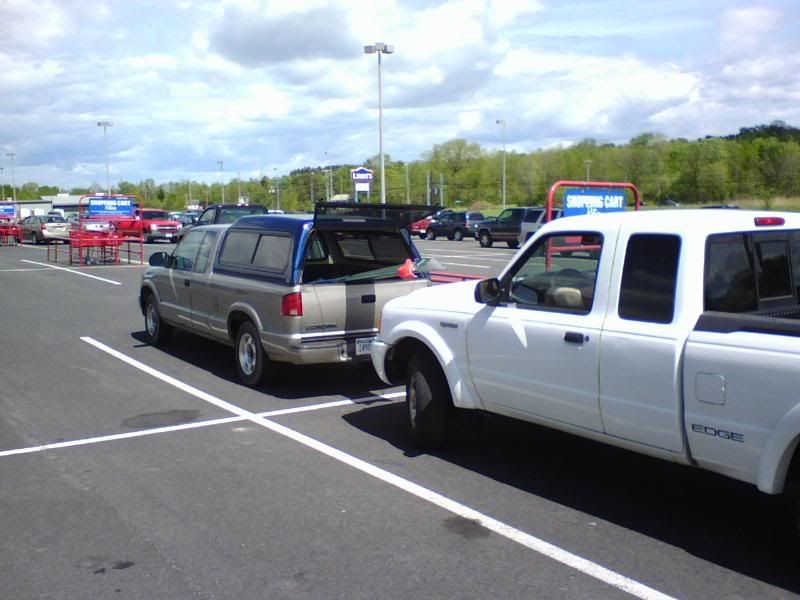
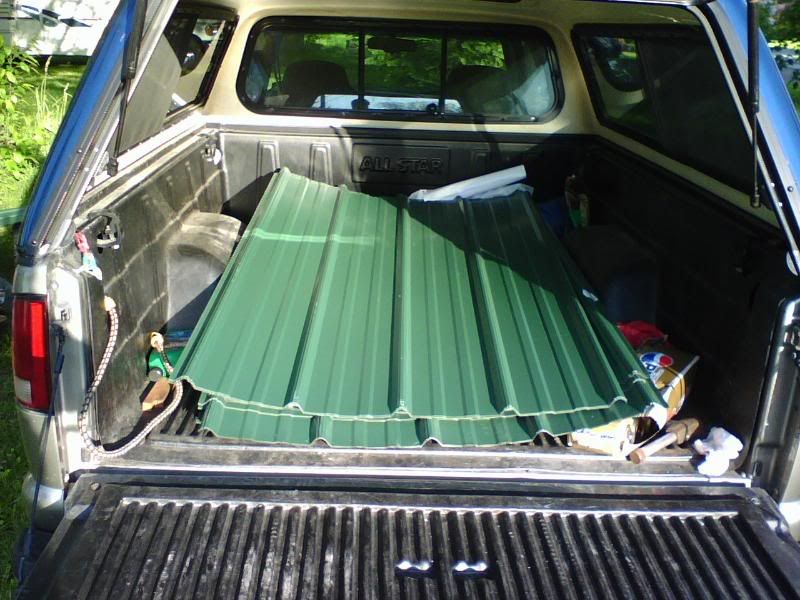
Now, I've got a 6.5' bed on my pickup, as does mark in his, and we've got 12' long pieces to transport. Hmmm. Mark rigged this setup in his truck and driving carefully on the back roads we managed to get things home safely.
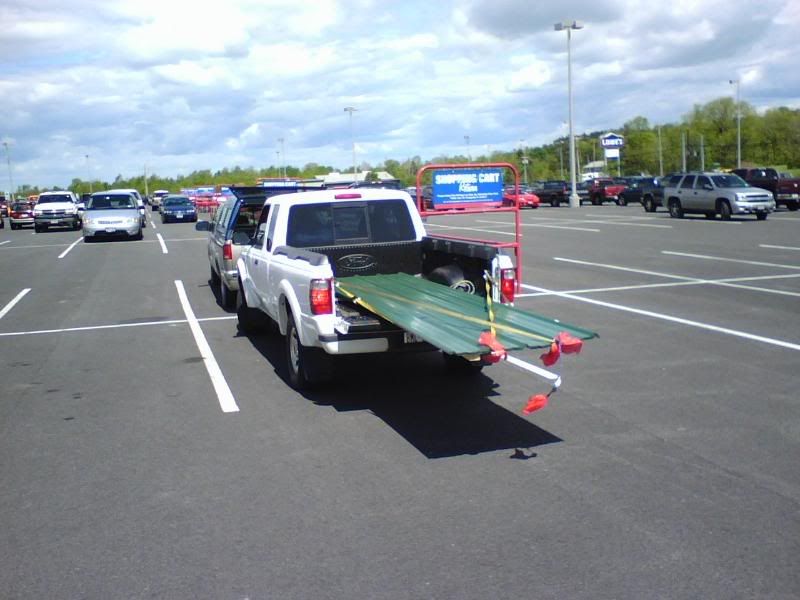


I wound up with the ridge cap and some tools in my truck:


Mark graciously offered the use of his new toyl, the Ez-smart cutting guide and associated circular saw. Man that's a slick system, but I've got other toyls to buy first. Wemeasured and cut all of the 12' sections as I mentioned before. Here's Mark with his EZ system in action.
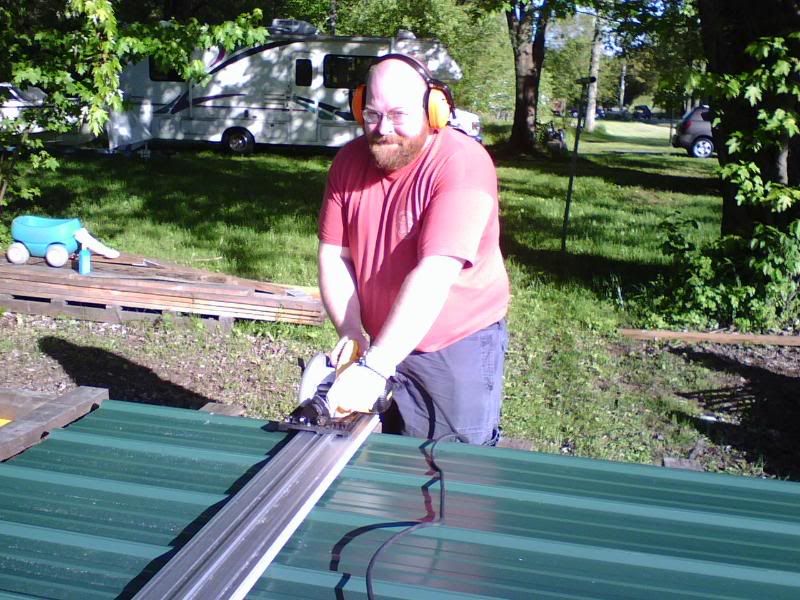


The roofing is 29 guage painted steel, and we decided that using a high tooth count 'disposable' blade would do the trick. I'm pleased to report that a Skilsaw 60 tooth (well, now it is 59 tooth) carbide tipped blade worked very well. Here are all of the panels ready to use:


(no pic, but you'll have to trust me, it did happen)


So, we tore it all off. The metal roofing is normally laid down over 2x4 blocking spaced about 2 to 3' apart. Mark, James and I spent all day sunday and half of monday putting this up and in place:


and the front side...


Lori and the boys were pressed into service as well, and with all of us working, we managed to get the loft floor installed:


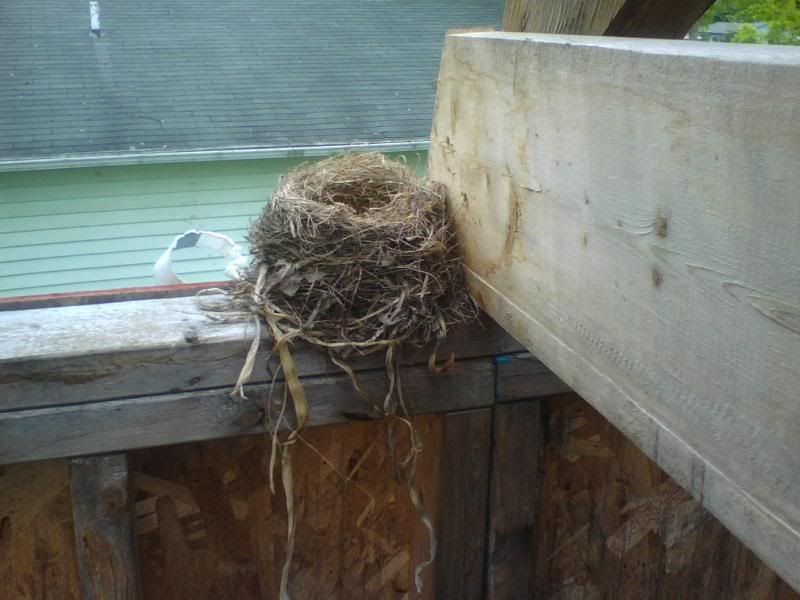
On a humorous note, It seems I had a guest earlier this spring...

I'm going to carefully remove that from where it sits now, and put it on a shelf in the shop.


Wednesday, February 13, 2008

mid winter bleahs

Well,

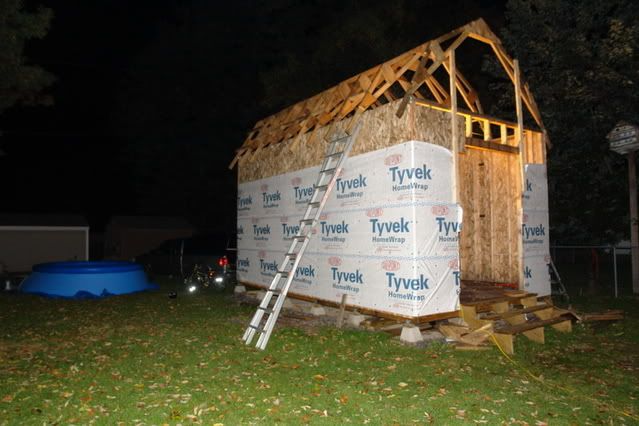
it definitely has been awhile, but thngs slowed down after the end of july. I did managed to get part of the roof on, and all of the trusses up, by the end of October. Then I discovered (re-discovered actually) that I have a very well developed fear of heights when at the top of a ladder. I'm fine in a building, but when there's a long drop and nothing but a ladder to hold onto, I tend to really want to hold on for dear life.


I'm hoping to get a crew to do the rest of the sheathing and finishing up the end walls (I Might be able to swing those, but if I'm paying for sky work, I might as well go whole hawg)


On the plus side, work is going very well. I'm currently lead hunting, which means I'm looking for 'For Sale', 'For Lease' For Rent, or 'Available signs and the properties attached to them. This includes land, which is a good thing, cause I've been hitting some really rural territory and updating lots of vacant land listings.


I think I'll be starting another blog for some shots which I'd like to share, I'll update here when I get a couple of posts done, as well as a catchy title.


here's an artistic interpretation of a shot as an example. Just a valley I stopped and saw tonight on my way home, put through photoshop and a filter.

Thursday, November 1, 2007

Catching up with the truss building

My mom pointed out that I skipped over some important stuff, so bear with me as I describe building the trusses for the shop.

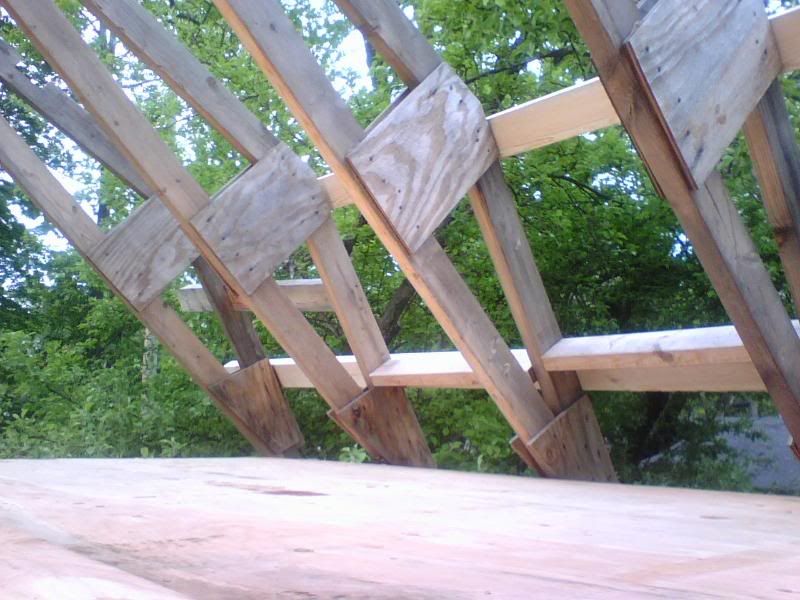
The plans I worked from (I'm to the point now in June of '08 that I'm mostly done with the plans, now comes the wiring and finish details) described building the trusses yourself vs. having them farmed out. I simply had to cut 8 2x4's to length and angle, then using a jig laid out on the floor of the shop, assemble the trusses, with gussets and construction adhesive.


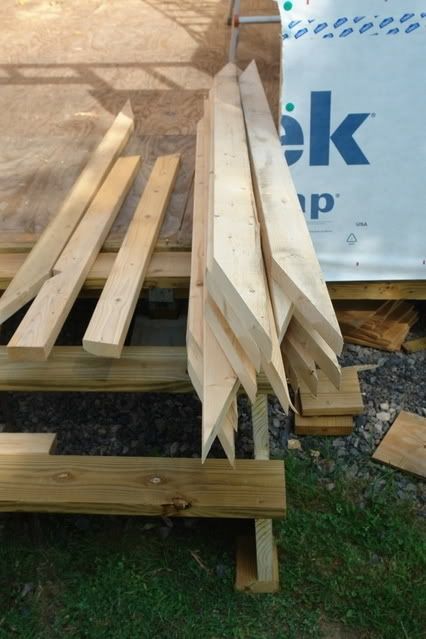
Mark cut these pieces on the right to size using his Radial Arm saw, which really helped with the accuracy of the trusses.


Here I am cutting the larger gussets to size. They were used to attatch the two halves together


I used my tablesaw crosscut sled to gang cut a notch in some of the upper truss pieces for the end trusses for the perlins to fit into. In the end, however that proved unnescesary because of the metal roof I wound up using. The blocking for the metal roof did a great job of tying the all of the trusses together.

After cutting all of the pieces, (and re-cutting some when we had to rebuild a couple of the trusses) a pattern was laid out on the floor of the shop, and the pieces were nailed and secured with construction adhesive.


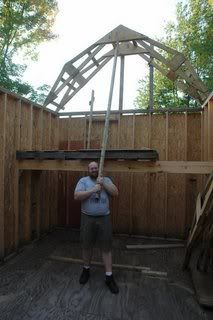
Here is Mark using the semi-famous Polish Polearm to muscle the first two trusses up on the end of the shop. We did those two the hard way as it turns out, putting them up together including the perlins, which realllly made it a) heavy and b) unwieldy.


the rest of the trusses were installed individually. Grizz helped on that job, and without the two of them plus Lori and the boys my shop would still be in the dream stage.


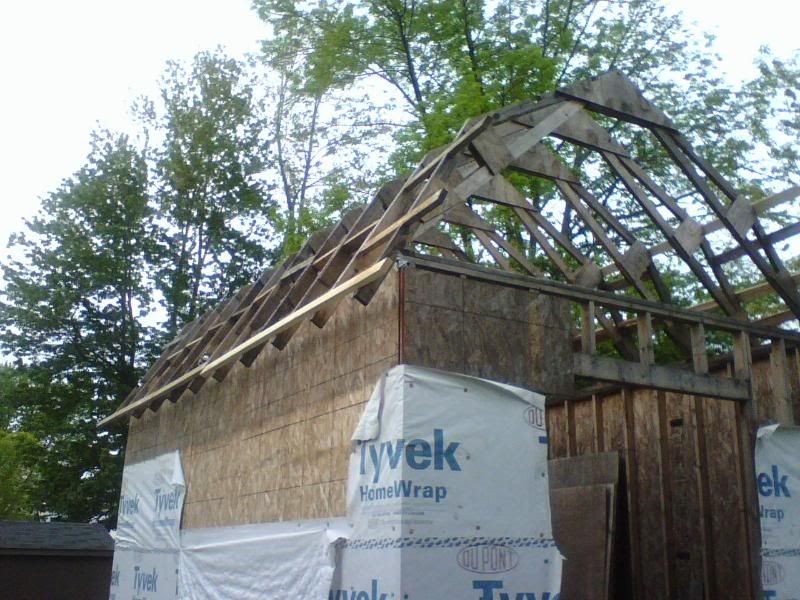
Jumping forward a bit, here's how things looked once we had a few more trusses installed.


Afer that, it was 'time' to install sheathing for the roof. I made this neat jig to help get the sheathing up on the shop. In the end, we wound up removing the sheathing to put the blocking up on the roof, but here was how the sheathing went up.

The sheathing went up on those two boards screwed to the joists, there were plywood stops which would catch the sheet allowing me to climb the ladder without having to carry the 5/8 ply sheathing.