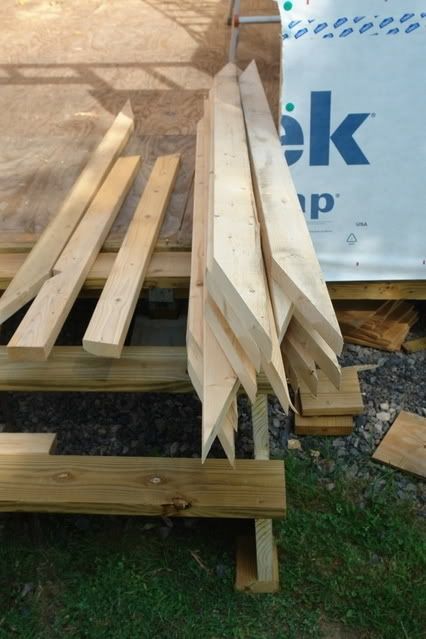
 Mark cut these pieces on the right to size using his Radial Arm saw, which really helped with the accuracy of the trusses.
 Here I am cutting the larger gussets to size. They were used to attatch the two halves together


After cutting all of the pieces, (and re-cutting some when we had to rebuild a couple of the trusses) a pattern was laid out on the floor of the shop, and the pieces were nailed and secured with construction adhesive.


the rest of the trusses were installed individually. Grizz helped on that job, and without the two of them plus Lori and the boys my shop would still be in the dream stage.
Jumping forward a bit, here's how things looked once we had a few more trusses installed.
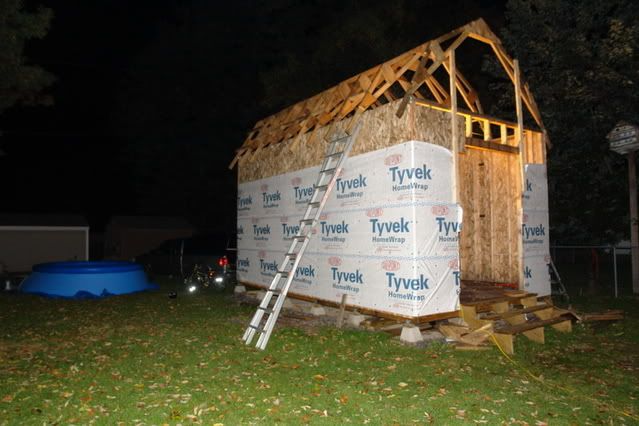
Afer that, it was 'time' to install sheathing for the roof. I made this neat jig to help get the sheathing up on the shop. In the end, we wound up removing the sheathing to put the blocking up on the roof, but here was how the sheathing went up.

The sheathing went up on those two boards screwed to the joists, there were plywood stops which would catch the sheet allowing me to climb the ladder without having to carry the 5/8 ply sheathing.

